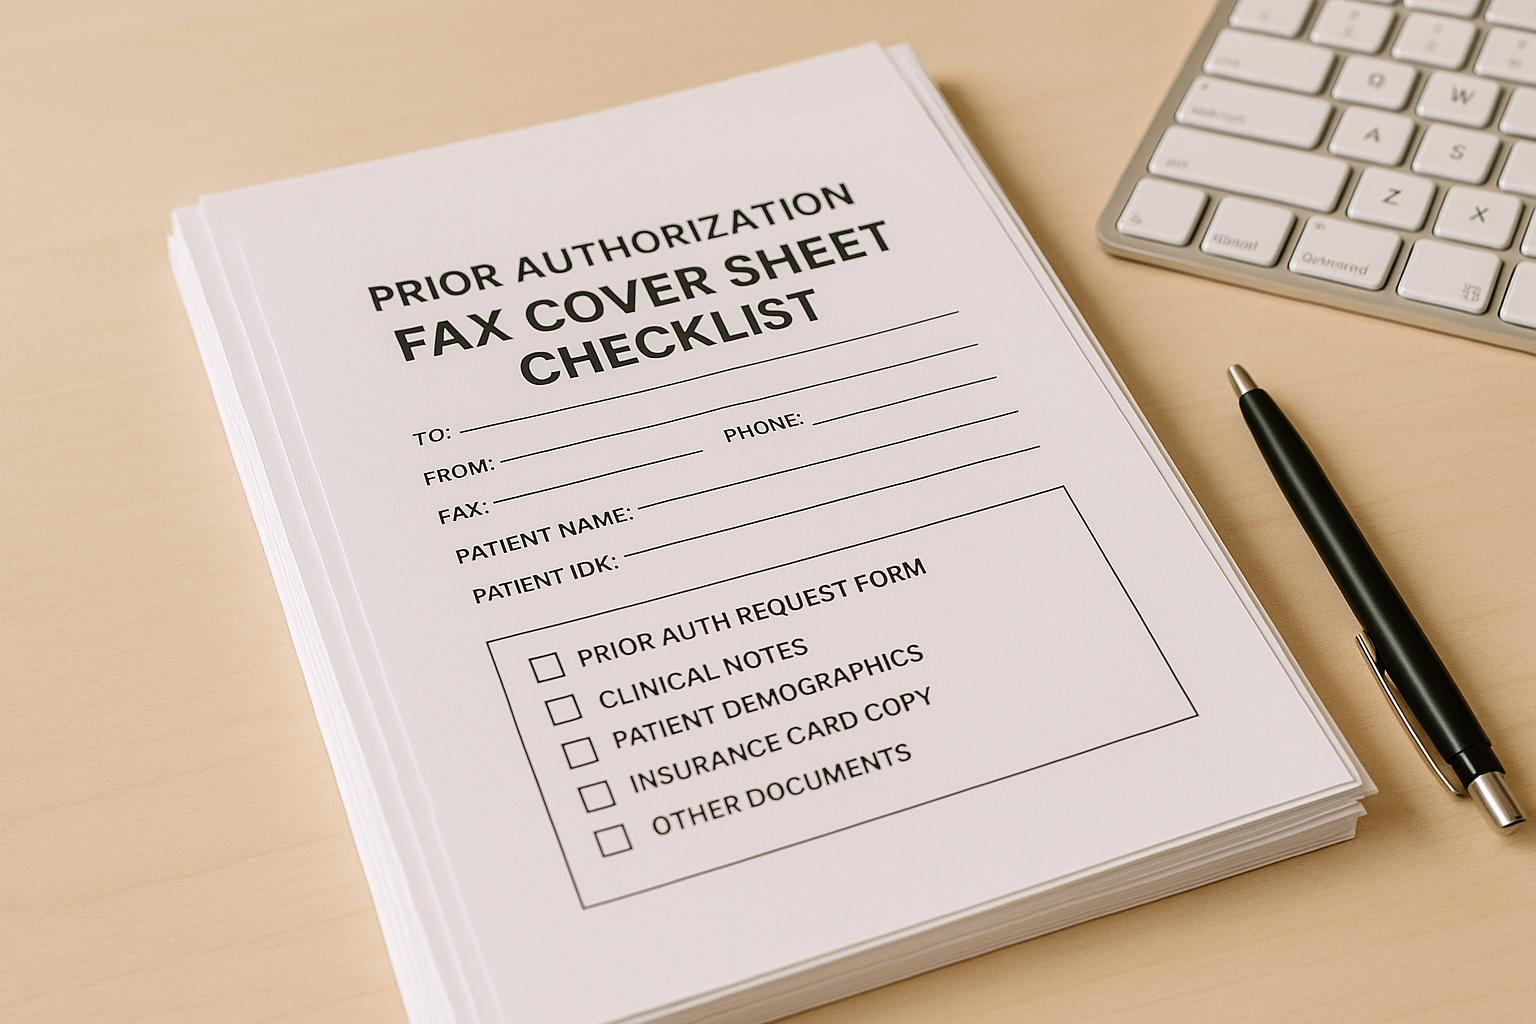
Prior Authorization Fax Cover Sheet Checklist for Clinics & Billing Teams
Checklist for HIPAA-compliant prior authorization fax cover sheets: required patient/provider fields, procedure codes, urgency, and common rejection triggers.
Prior Authorization Fax Cover Sheet Checklist for Clinics & Billing Teams
When sending prior authorization requests via fax, the cover sheet is critical. It ensures your request is routed correctly, processed efficiently, and complies with HIPAA regulations. Missing or incorrect details can lead to delays, rejections, or compliance risks. Here's what you need to know:
Key Takeaways:
- Essential Information to Include:
- Patient details: Full name, DOB, Member ID, and payer name.
- Provider details: Name, NPI, TIN, and contact info.
- Service details: Procedure/medication name, codes (CPT/HCPCS/NDC), urgency, and start date.
- Common Mistakes to Avoid:
- Missing or incorrect member IDs, payer fax numbers, or procedure codes.
- Vague descriptions or unclear urgency levels.
- Handwritten or poorly formatted cover sheets.
- HIPAA Compliance Tips:
- Limit PHI on the cover sheet.
- Use HIPAA-compliant fax services with encryption and audit trails.
- Verify recipient fax numbers and avoid batching multiple requests.
A well-prepared cover sheet not only speeds up processing but also ensures secure handling of sensitive patient data. Use a standardized template and double-check details before sending to minimize errors and delays.
Must-Have Fields Checklist for Prior Authorization Fax Cover Sheets
Use this handy checklist to make sure your cover sheet includes all the essential details for smooth processing and compliance.
Patient and Insurance Information
Getting patient details right is key to speeding up routing and avoiding errors.
- Include the patient's full name exactly as it appears on their insurance card.
- Add the patient's date of birth in the MM/DD/YYYY format.
- Provide the member ID exactly as listed on their insurance, along with the group or plan number if available.
- Write out the complete, official name of the payer.
- Double-check the payer's fax number by consulting their provider portal or contacting their support team.
Requesting Provider and Contact Details
Accurate provider information ensures your request gets validated and routed correctly.
- Include the requesting provider's full name as it appears in official records.
- Add the provider's National Provider Identifier (NPI). For group practices, include the organizational NPI if required.
- Provide your practice's Tax Identification Number (TIN) along with the practice name.
- List direct contact information for follow-ups, such as phone, fax, or email.
Service and Request Details
Clearly stated service details help the payer assign your request to the correct review team.
- Specify the procedure or medication name.
- Include any applicable standardized codes, such as CPT, HCPCS, or NDC, to support your request.
- Indicate whether the authorization is standard or expedited, and provide the service start date in MM/DD/YYYY format.
- Note the total number of pages in the fax, including the cover sheet.
Completing these steps reduces the chances of your fax being rejected. With this checklist, you can create a clear and compliant cover sheet, ensuring faster and more efficient processing.
Nice-to-Have Fields Checklist for Faster Processing
Beyond the must-have elements, including a few optional details can help speed up the processing of your submission.
Prior Authorization and Claim References
- For resubmissions, include the prior authorization reference number to align with the payer's records.
- If you're submitting a correction, note the original submission date and clearly label it as "Resubmission."
- For urgent resubmissions, add a note like: "Second request – original fax sent on MM/DD/YYYY."
- When the authorization is tied to a specific claim, be sure to include the claim number for clarity.
Additional Supporting Information
- If the service is complex or high-cost, provide a brief summary (one or two sentences). Example: "Patient requires MRI of lumbar spine due to persistent radiculopathy unresponsive to conservative treatment."
- Add the PCP's name and NPI if the payer requires it.
- Specify the type of service - like outpatient surgery, imaging, durable medical equipment (DME), or specialty pharmacy. This helps ensure the fax reaches the correct department quickly.
HIPAA Compliance for Fax Cover Sheets
When sending prior authorization requests via fax, you're handling Protected Health Information (PHI), which means HIPAA regulations come into play. Even a small mistake can lead to a compliance audit, disrupt patient care, or result in penalties. Following key guidelines ensures secure and compliant fax transmissions.
Key HIPAA Requirements for Fax Cover Sheets
HIPAA allows faxing but mandates strict safeguards for PHI. Here's how to stay compliant:
- Limit PHI on the cover sheet. Include only necessary details like patient identification and the purpose of the fax - leave out clinical information such as diagnoses or test results. If the cover sheet ends up in the wrong hands, this minimizes the exposure.
- Have a Business Associate Agreement (BAA) with your fax provider. If you're using an online fax service or any third-party vendor, a signed BAA is mandatory. This agreement ensures the vendor is responsible for protecting PHI. For example, OneFaxNow provides an instant BAA directly through its compliance dashboard when sending a HIPAA fax [1].
- Encrypt PHI during transmission and storage. Your fax provider should use encryption protocols like TLS 1.2 (or higher) for data in transit and 256-bit AES encryption for data at rest [1][2]. This protects PHI from unauthorized access during transmission or storage.
- Maintain an audit trail. Every fax containing PHI should generate a detailed log that includes timestamps, sender and recipient information, delivery status, and retry attempts. OneFaxNow's HIPAA mode tracks every step, from upload to delivery, and allows you to download audit reports in formats like CSV or PDF anytime [1].
- Securely delete PHI after transmission. Once a fax is delivered, the service should automatically delete the file securely, with the deletion logged in the audit trail. Drafts containing PHI should not be saved. For instance, OneFaxNow ensures no drafts are stored, and files are deleted automatically after successful delivery, with an audit entry confirming the deletion [1].
- Double-check recipient details. Verify the fax number against the payer's official contact list to avoid sending PHI to the wrong recipient. Many clinics maintain a verified directory to minimize errors.
- Send one patient per fax. Avoid batching multiple patients' prior authorization requests into a single fax. This reduces the risk of misfiling and ensures proper routing.
By adhering to these requirements, you can securely fax PHI while meeting HIPAA standards.
Best Practices for Secure Faxing
Beyond the essential requirements, adopting these practices can enhance both security and efficiency in your prior authorization workflow:
- Enable HIPAA mode for PHI transmissions. If your fax service offers a HIPAA-specific setting, always activate it when sending sensitive documents like medical records or lab results. For example, OneFaxNow's HIPAA mode costs $3.00 for 1–10 pages or $5.00 for 11–50 pages, including stricter compliance measures like audit logging and secure deletion. Charges apply only for successful deliveries [1].
- Track every transmission. Confirm that the payer received your fax by checking delivery receipts or tracking links. OneFaxNow provides status updates with job IDs and tracking links, and retries up to three times if a fax fails to send. If delivery is unsuccessful, you'll be notified immediately and won't be charged [1]. For compliance, regularly download and securely store audit logs.
- Restrict access to fax services. Limit access to staff members who handle prior authorizations, such as billing managers or front-desk leads. This reduces the risk of unauthorized use and ensures accountability.
- Choose a service with strong security credentials. Look for vendors with certifications like SOC 2, ISO 27001, GDPR, and CCPA in addition to HIPAA compliance [2]. These certifications indicate high data security standards.
- Avoid traditional fax machines. Desktop fax machines and shared office lines pose security risks, such as paper sitting in output trays or a lack of audit trails. Online fax services with HIPAA features offer encryption, tracking, and secure deletion - benefits traditional machines can't provide.
Implementing these practices not only ensures HIPAA compliance but also streamlines your prior authorization process. For a reliable solution, consider using OneFaxNow's HIPAA-compliant fax service. With encryption, audit logging, and automatic deletion, you can confidently send prior authorization requests. Learn more about their prior authorization fax and insurance claims services - no account needed, pay only for successful deliveries, and get instant BAA execution for complete compliance.
sbb-itb-0df24da
Sample Prior Authorization Fax Cover Sheet Layout
Having a clear and well-organized cover sheet can make a big difference in how quickly your prior authorization fax gets processed. Below is a template you can adapt to fit your clinic or billing team’s needs. The layout is designed to group related details logically, helping payer staff handle your request efficiently.
Example Layout with Field Descriptions
This template is ready for you to fill out, save, and reuse as needed.
PRIOR AUTHORIZATION REQUEST
Date: [MM/DD/YYYY]
Total Pages (including this cover): [e.g., 8]
Urgency: ☐ Standard (10 business days) ☐ Expedited (72 hours)
TO (Payer Information):
Payer Name: [e.g., Blue Cross Blue Shield of Texas]
Fax Number: [e.g., 555-123-4567]
Department: Prior Authorization / Medical Management
FROM (Requesting Provider):
Provider Name: [e.g., Dr. Sarah Chen, MD]
NPI: [e.g., 1234567890]
TIN: [e.g., 98-7654321]
Practice Name: [e.g., Riverside Family Medicine]
Phone: [e.g., 555-987-6543]
Fax: [e.g., 555-987-6544]
Email: [e.g., priorauth@riversidefm.com]
PATIENT INFORMATION:
Patient Name: [Last, First Middle Initial]
Date of Birth: [MM/DD/YYYY]
Member ID: [e.g., ABC123456789]
Group ID: [e.g., GRP987654]
SERVICE/MEDICATION REQUESTED:
Procedure/Medication: [e.g., MRI of lumbar spine without contrast]
CPT/HCPCS/NDC Code: [e.g., CPT 72148]
Requested Start Date: [MM/DD/YYYY]
REFERENCE INFORMATION (if applicable):
Prior Authorization #: [if resubmitting or following up]
Claim #: [if related to an existing claim]
Brief Clinical Summary: [e.g., Patient presents with chronic lower back pain radiating to left leg for 6+ weeks, unresponsive to physical therapy and NSAIDs. MRI needed to rule out disc herniation before considering surgical consult.]
CONFIDENTIALITY NOTICE:
This fax contains Protected Health Information (PHI) intended only for the recipient listed above. If you received this in error, please contact the sender immediately at [phone number] and destroy all copies.
Tips for an Effective Cover Sheet
- Highlight urgency and page count at the top to ensure time-sensitive requests are prioritized.
- Organize related fields together to make key details easy to find.
- Use bold headers so staff can quickly locate specific sections without scanning the entire document.
- Leave room for handwritten notes for any last-minute additions before sending.
- Include a confidentiality notice to protect sensitive information and provide instructions if the fax is sent to the wrong recipient.
You can also customize this template by adding your clinic’s logo or adjusting the formatting to match your branding. Once finalized, save it as a PDF or DOCX file for future use. For added security when handling PHI, use a HIPAA-compliant fax service like OneFaxNow, which offers encryption, audit logging, and secure deletion features. Learn more about prior authorization fax and insurance claims services - no account needed, and you only pay for successfully delivered faxes.
Next, we’ll go over common rejection triggers and how to avoid them.
Common Rejection Triggers and How to Avoid Them
When submitting prior authorization requests, even small mistakes on the cover sheet can cause big problems. Payers depend on these cover sheets to ensure your fax reaches the correct department, and any errors or missing details can result in delays, denials, or requests to resubmit. Let’s look at some common pitfalls and how to avoid them to keep your process running smoothly.
Frequent Errors in Cover Sheets
Unreadable or poorly formatted cover sheets are a common issue. Handwritten notes that are hard to read, low-resolution scans, or tiny fonts can frustrate the recipient. Another common mistake is leaving out the total page count or listing it incorrectly. This can make the payer think pages are missing, leading to outright rejection.
Not marking urgency clearly can also cause delays. If you need an expedited review but fail to indicate urgency or provide relevant clinical details, your request might be processed as routine. On the other hand, labeling every request as urgent without valid medical reasons could hurt your credibility with the payer.
Vague procedures or missing codes are another red flag. Using general terms like "imaging" instead of specifying something like "MRI of lumbar spine without contrast" (along with the correct CPT code) can leave the payer unsure of what you’re requesting. Similarly, medication requests without required identifiers, such as an NDC code, are likely to be rejected.
Solutions to Prevent Rejections
You can avoid these issues by taking a few practical steps to tighten your process.
- Double-check all critical details. Always verify the Member ID, Group ID, provider NPI, and TIN on every cover sheet. Make sure the payer’s fax number matches the type of authorization you’re requesting.
- Keep payer contact information up to date. Review and update payer fax numbers every quarter. If a fax doesn’t go through, call the payer’s provider line to confirm the correct number before resending.
- Use a standardized cover sheet template. Create a fillable PDF or DOCX template for your team to use consistently. This reduces the risk of missing fields and makes errors easier to spot. For clinics managing high volumes of authorizations, practice management software that auto-fills cover sheets with patient and provider data can be a huge time-saver.
- Switch to HIPAA-compliant online fax services. Traditional fax machines come with challenges like busy signals, paper jams, or poor line quality. Online fax services such as OneFaxNow solve these problems with features like automatic retries, real-time delivery tracking, and email confirmations. They only charge for successfully delivered faxes and provide detailed audit logs for recordkeeping.
- Enable HIPAA Mode for secure transmissions. Since prior authorization documents contain sensitive health information, it’s critical to use encryption and ensure secure deletion after sending. Services like OneFaxNow offer a HIPAA Mode that includes instant Business Associate Agreement (BAA) execution, making compliance straightforward.
- Add a brief clinical summary when needed. Including a short explanation of medical necessity can help avoid back-and-forth communication. For example: "Patient has chronic lower back pain radiating to the left leg for six weeks, unresponsive to physical therapy and NSAIDs", provides clear justification for further diagnostic steps.
- Save copies of everything. Always keep a PDF copy of the cover sheet, supporting documents, and delivery confirmation. These records can resolve disputes if the payer claims they didn’t receive your request or says something was missing.
Conclusion
As outlined earlier, a well-prepared and accurate cover sheet is essential for ensuring smooth processing. The approval of a prior authorization request can hinge on the completeness of this document. Simple errors, like missing a Member ID, using an outdated fax number, or forgetting to include the total page count, can result in immediate rejection and delays in patient care.
The good news? Most rejections can be avoided. By creating a standardized cover sheet template that includes all required fields, keeping payer contact details up to date, and carefully reviewing everything before sending, you can significantly cut down on turnaround times and the hassle of resubmissions.
Final Checklist Before Sending a Fax
To ensure your fax meets all processing and compliance requirements, use this checklist:
- Patient and insurance details: Double-check that the patient’s full name, date of birth, Member ID, and Group ID match the insurance card.
- Provider and contact information: Verify the requesting provider’s name, NPI, TIN, practice name, and include a direct phone number, fax number, and email for follow-ups.
- Service details: Clearly specify the procedure or medication, along with the correct CPT, HCPCS, or NDC code. Avoid vague or unclear descriptions.
- Urgency and timeline: Indicate whether the request is standard or expedited, and provide the requested start date for the service.
- Total page count: Always include the total number of pages, including the cover sheet.
- Correct payer fax number: Confirm the payer’s fax number to avoid misdirected faxes.
Some payers may have specific formatting rules or additional requirements, so it’s a good idea to check their provider portal or call their provider line if you’re unsure. For resubmissions, don’t forget to include the original reference or prior authorization number.
Use HIPAA-Compliant Fax Services
Once your cover sheet and internal checks are in order, the next step is secure faxing. Since prior authorization requests involve protected health information (PHI), compliance with HIPAA regulations is a must [1]. Traditional fax machines come with risks like paper jams, busy signals, or even misdirected faxes, and they lack an audit trail to confirm delivery. These issues can jeopardize both compliance and efficiency.
A HIPAA-compliant online fax service can solve these problems. Services like OneFaxNow provide encryption for data in transit and at rest, automatic retries for failed attempts, and real-time delivery tracking so you always know the status of your fax [1][2]. You’ll receive an email confirmation with a tracking link and job ID, and payment is only processed once the fax is successfully delivered.
For healthcare teams, OneFaxNow’s HIPAA Mode includes features designed for compliance, such as instant Business Associate Agreement (BAA) execution, complete audit logs for documentation, and secure deletion of PHI files after transmission [1]. This ensures you can send prior authorization requests securely while meeting all regulatory requirements.
To send a fax, simply upload your cover sheet and supporting documents (PDF, DOCX, JPG, PNG, or TIFF files up to 50 pages), enter the payer’s fax number, enable HIPAA Mode if needed, and check out via Stripe. No account or subscription is required - just pay per fax and receive instant delivery confirmation.
Send a Fax Online - No Account Required
For additional details on secure faxing in healthcare workflows, visit:
FAQs
What are the key mistakes to avoid when creating a prior authorization fax cover sheet?
To make sure your prior authorization fax is processed without hiccups, steer clear of these common pitfalls:
- Leaving out key details: Always include the patient’s name, date of birth, member ID, provider information (like name, NPI, and TIN), and the correct payer fax number. Missing any of these can cause delays or even rejections.
- Errors in payer information: Double-check the payer’s name and fax number to ensure the fax goes to the right place.
- Unclear urgency or procedure details: Be specific about the urgency level (standard or expedited), requested start date, and any procedure or medication codes (such as CPT, HCPCS, or NDC) that apply.
- Forgetting the total page count: Always include the total number of pages (cover sheet included) to avoid confusion or processing errors.
By paying attention to these details, you’ll reduce the chances of rejections and keep the prior authorization process running smoothly.
What steps can clinics take to ensure HIPAA compliance when faxing prior authorization requests?
To stay compliant with HIPAA regulations, clinics must opt for a HIPAA-compliant online fax service that includes a Business Associate Agreement (BAA). This agreement ensures the service adheres to strict protocols for managing protected health information (PHI).
It's also crucial to confirm that the service provides features like secure transmission, encryption, and audit logs to protect sensitive patient details. Be diligent by double-checking fax numbers and sharing only the essential information to reduce potential risks.
What details can help speed up the prior authorization process when included on a fax cover sheet?
When submitting a prior authorization request, adding a few extra details to the fax cover sheet can help move things along more smoothly. In addition to the required fields, consider including:
- Reference or prior authorization number if you're resubmitting a request.
- Claim number, if relevant to the case.
- A short summary outlining the reason for the authorization request.
These additions can make your submission clearer for the payer, cut down on processing delays, and ensure your request gets to the right place quickly.